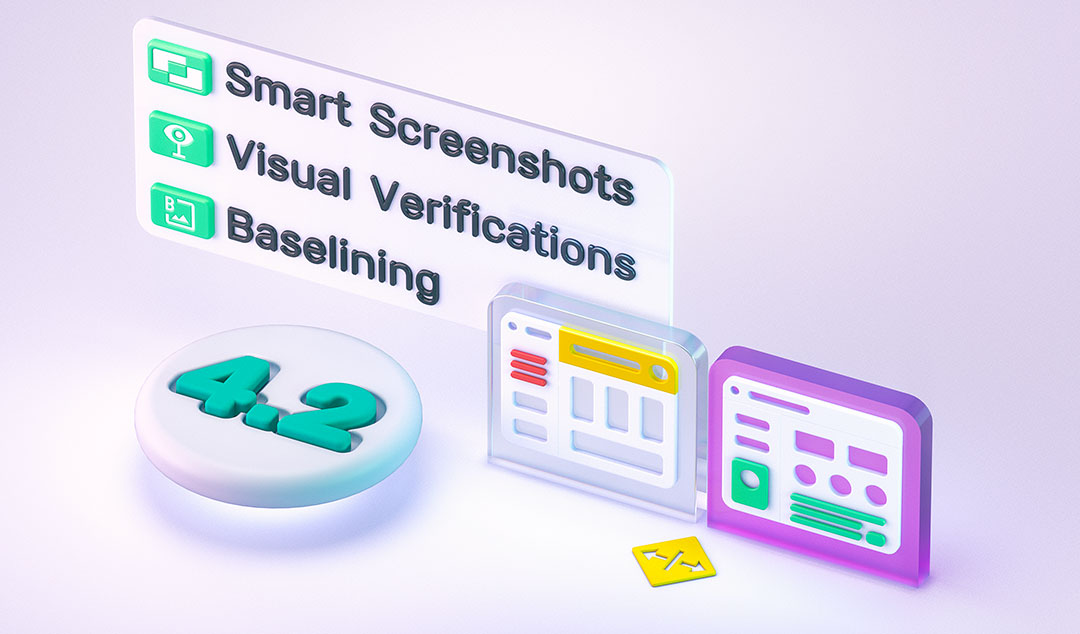
5.1 Release Highlights
Functionize 5.1 takes the intelligent testing platform to a whole new level with dramatic upgrades to the most used areas of the platform. We drastically improved the experience for editing tests and now give you more options to customize tests.

Release highlights include:
1. Drastic UI/UX improvements: for Architect, Test Detail page, and Slider View!
- Removed ADV toggle: View all Actions in the redesigned Architect left panel
- No more Action Log or Attribute Editor: Centralized and consistent Action Settings
- Enhanced view options: Zoom, pan, and expand to Full Screen in Slider View
2. Easier Test Editing: Edit Actions during the recording experience in Architect
- Action Settings: Same editing experience in Test Detail and Slider View pages
- Add more Actions: More Actions can be added from Test Detail page and Slider View
3. Streamlined customization:
- Quick integrated access to TDM and Extensions
- Syntax highlighting in Outcome/Selector overrides, Pre and Post scripts
4. Train the AI: Help to fine-tune the model and report any ML errors to our data science team to help avoid similar errors in the future
Architect Enhancements
The new UI for Architect has a redesigned left panel. Icons make it easier to distinguish actions, and we’ve removed the ADV toggle to access advanced actions. All actions are now accessible from one place! Just click on the + icon to open the left panel and take advantage of all action types categorized into these groups:
- Data & Variables
- Verify
- Control
- Tools
- Advanced Actions
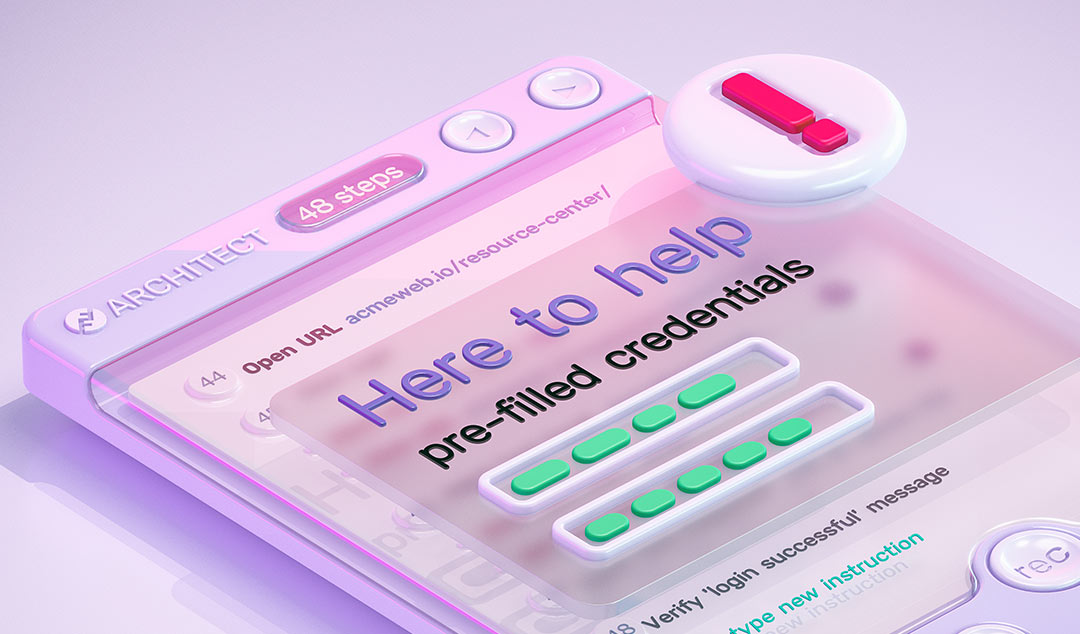
The latest version of Architect allows you to make more changes while you’re recording your test. Edit your recorded action by clicking into the white circle to the left of the step. This opens up the action menu so you can make any changes. For example, if you want to change the text that is entered into a form field, you can modify the step without having to re-record it with the new value. Click into the existing action, change the value, and click Save. Now you can make changes quickly without having to delete and re-record the step. Check out this video for more details.
Test Detail Page Improvements
The new Test Detail page is better organized for easier navigation. The Actions tab shows you the test’s instructions and actions independent of any execution result. Browser specific tabs show the detailed results from the latest run on each browser including each step-level data, network, and console details. You can make changes to your test from any of these tabs (Actions or Browser tabs), and these changes will apply for all browsers the next time your test runs. The History tab shows you the full execution history across all browsers. Filter the results by browser, status, or time. And, you can even download the execution history report.
The test editing experience is more seamless and powerful from the new Test Detail page. Instead of the old Action Log or Attribute Editor, if you want to make any changes to an Action, click on the step to expand the Action Settings. From here, you can edit, delete, or clone the step. For example, if you want to change the text that is entered into a form field, you can modify the action in-line. Just click on the step to expand to the Action Settings area, modify the input text, and click Save. The new input text will be used on the next execution.
Adding new steps from the Test Detail page is easy and you can use one of two options. Firstly, you can click on the + icon in between steps to add simple actions that interact with the existing page. Previously, you were limited to 4 actions: Wait, CustomJS, Navigate, and Scroll. But now, there’s 14 actions at your fingertips. Otherwise, use Local Edit to add actions with new elements or new pages. Just expand your action and click Local Edit. This was previously known as Live Edit and will launch Architect on your application so you can record the new actions.
Customizing your tests with code is streamlined with an integrated experience for TDM, Extensions, and more. Just click into your action to expand the new Action Settings area instead of using the old + icon to Map and Extension or Map Test Data. We’ve also added syntax highlighting to Outcome Overrides, Selector Overrides, and Pre, and Post Scripts so you have an intuitive scripting experience.
Slider View Updates
The new Slider View is redesigned for consistency and speed. Really need to confirm the details? Zoom in / out, scroll, and even expand the screenshots to full screen! You can quickly switch between results in different browsers to ensure consistent site performance. See at a glance the active URL and attribute data recorded for each action. Compare the screen at different points in time:
- Between the Previous Successful Run
- Current / Latest run
- When the test was first recorded with Architect
For a more granular comparison, observe your screen from before, during, and after each action. The footer at the bottom shows you result data: Data, Network, Console
Edit each action just as you would in the Test Detail page using a similar Action Settings area for each step. Just click into the Gear icon of each action to edit, delete, or clone the step. Customizing your tests is also streamlined in the new Slider View. Just click into your action and interact with the new Action Settings area. From here, you can add Extensions, TDM, Outcome/Selector overrides, or Pre/Post scripts.
To add new steps from the Slider View, you can use one of two options. First, you can click on the + symbol after your action. From here, you’ll see over 20 different action types including element-based actions types such as Double-click, Hover, and Input. To quickly add an element-based action, just click into the Smart Screenshot to interact with any of the elements already recorded in the screenshot. Otherwise, if you want to add actions for new pages, use Local Edit (previously known as Live Edit) to launch Architect on your application to record new steps.
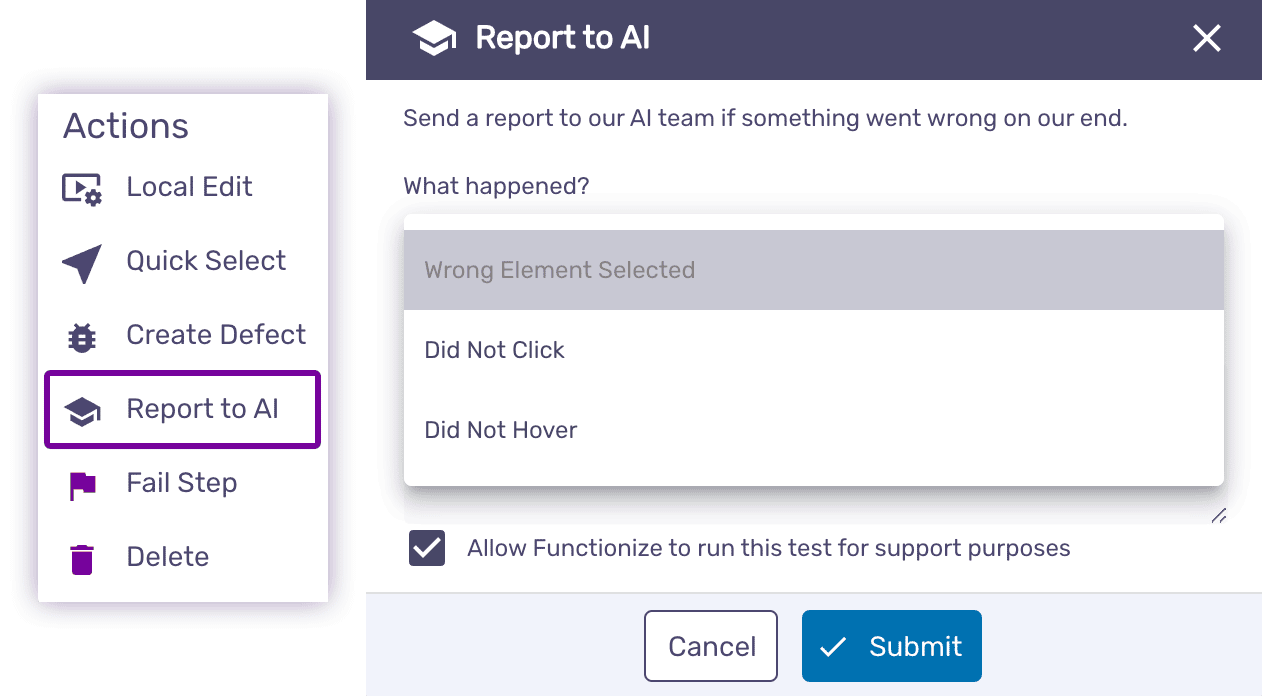
Last but not least, we added a new Report to AI feature that allows you to fine-tune your machine learning models. Functionize uses machine learning to keep your tests up to date as your application changes over time. This means that your tests are dynamically changing to interact with your UI elements even as they change. Sometimes, the test self-heals to interact with the wrong element. In these cases, you can train the AI to report the error to our data science team. Click on the Action menu, and select “Report to AI.” Specify what type of error occurred, whether the wrong element was selected or if the click or hover failed. Optionally, you can also provide comments and allow the Functionize team to rerun your test and verify that the machine learning model is adapted.
Watch our 5.1 release webinar video and read the release notes to learn more!