A beginner’s guide to creating tests with Functionize Architect
Learn how Functionize Architect makes it really easy for you to create automated tests. An essential step towards continuous quality.
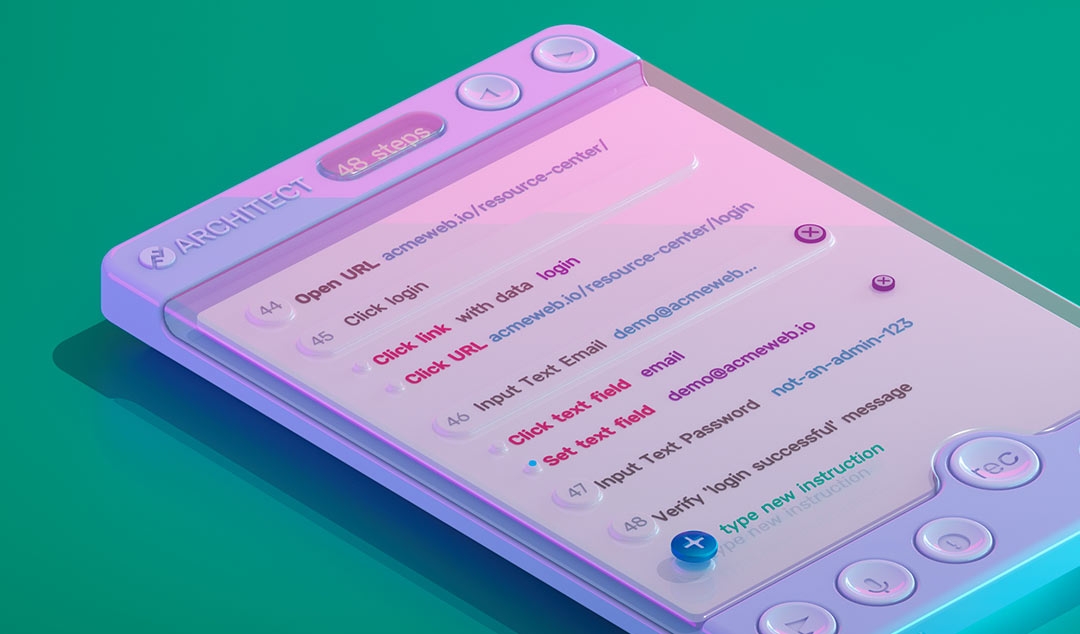
Functionize is on a mission to make test automation smarter, not harder. Architect is our AI-powered test recorder. It allows you to create fully-functional automated tests in just a few clicks. Here, we show you how to create your first test. But first of all, let’s see why you might need to use AI to enhance your test creation.
Traditional test creation
One of the hardest parts of classic test automation is scripting your tests. This requires programming skills and a deep understanding of things like CSS selectors or XPaths. Typically, the only alternative for a novice user is to turn to a record-and-playback system like Selenium IDE. But first-generation recorders like that are extremely rudimentary. Essentially, they create test scripts that still need extensive manual debugging. Even worse, the resulting scripts are more brittle than ones created by hand. That means you can look forward to hours of test maintenance each time your site changes.
How Architect leverages AI to create better tests
Architect is built on top of our advanced AI test automation engine. This uses a wide range of AI techniques to provide one of the smartest test automation platforms on the market. At its heart lies a set of advanced machine learning models. These allow the system to build a deep understanding of your application or site. When you record or run tests, the system is saving millions of items of data at each test step. For instance, it records the computed CSS attributes of each element, any script calls, and API responses. It even uses NLP to parse and understand any button or form entry. This allows it to create a complex fingerprint for every element on the page, including elements that aren’t actually visible. As a result, when you record a test in Architect, the system learns what the intent of the test is. In turn, that means the test will still work, even after you make UI or layout changes.
How to install Architect
So, let’s get started with creating your first smart test. The first step is to open Chrome and install the Architect plugin. This is available on the Chrome store. You can either search for ‘Functionize’ or click this link. Once you click “Add to Chrome” you will see it appear in the extensions pane of Chrome. Or if you have a lot of extensions, look for it in the list of extensions that appears when you click the jigsaw piece icon.
Next, you need to navigate to the Functionize app homepage. This is at https://app.functionize.com/. If you already have an account, sign in now. Otherwise, now is a great moment to sign up for our free trial! Now, you’re all set.
Create a new test
For the rest of this blog we will be creating a simple test. For simplicity, we will use the demo site that we built as the application under test: https://demo.functionizeapp.com/. If you visit this site, you will see that it is an online shop. This is a great use case for Functionize due to the complexity of testing things like registration pages, shopping carts, and nested product pages. I want to us Architect to test these scenarios:
- Register for an account using a randomly generated email address
- Verify that the account details match the random email address
Our simple test case
Our test case is simply going to test whether we can successfully register a new account. Try it for yourself now:
- Open https://demo.functionizeapp.com/
- Click on Create Account at the top right
- Now enter a random email address in the Register box
- Click the Register button
- Verify that you are on the correct My Account page (check the registered email)
As you can see, it’s really a very straightforward test. But later on, we will be adding a couple of extra steps.
Creating the test
Go back to the Functionize App homepage and click on the blue Add New Test button at the top right and select Architect from the dropdown. This will bring up the following window.
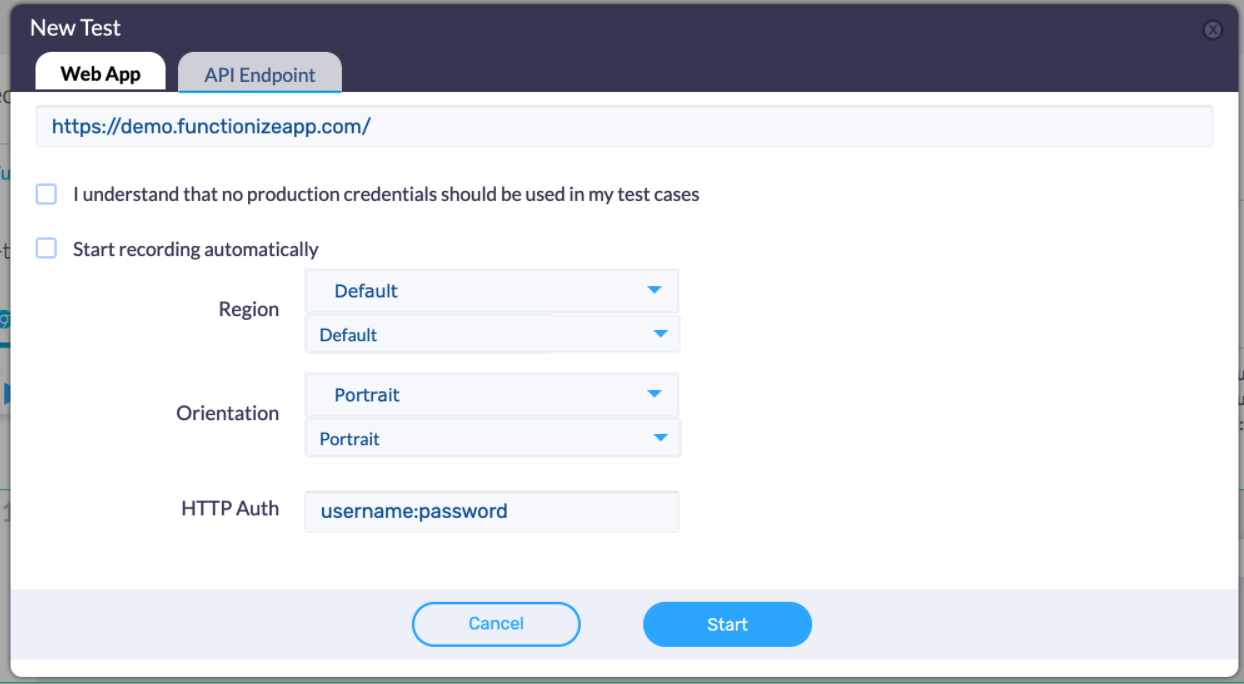
In the box at the top, enter the URL for the site or application you want to test. In this case, we will enter “demo.functionizeapp.com”. You can leave all the other entries set to their defaults. Now click Start. This will launch the URL for the site under test and bring up the Architect window over the top.
The Architect recorder
The Architect recorder window is where you create and control your test. The first thing you will notice is a popup prompting whether you want to clear the cache and cookies before you start recording. You need to delete all these to ensure a clean starting point for your test. That is especially important since we are testing an account creation flow. Once you delete the HTML 5 cache, you are ready to record your first test step. You will see that the test already includes the step of opening the web page. The first real step we are going to add is a verification.
Importance of verifications
Verifications are steps that you add to your tests to help our AI navigate and ensure things are working as expected. They come in a couple of different flavors. They can be as simple as verifying you are on the right page. The easiest way to do this is to pick an item that you know must be displayed on the page. Alternatively, verifications might use your site logic to check things are working well. For instance, making sure that items are sorted in the correct order. As a rule of thumb, you should have at least one verification each time a page loads, and one for every 5 or so steps if there isn’t a page load. You can learn a lot more about verifications in our white paper on writing effective test cases.
In our example test, we want to verify that we are on the homepage of the demo app. So, we will check whether the Create Account button is visible. For each step in your test, you need to give an explanation of what the test step is going to do (aka an instruction). This is really important because it allows you and others to come back in the future and quickly understand what the test is doing. So, add something meaningful like “verify Create Account button to check we are on the homepage” and press Enter. Then click on the little flag at the bottom left of the Architect window and move the pointer over the Create Account button. Click, and you will see it adds a new instruction to your step saying “verify div Create Account”.
Adding random data
You’re now ready to add the rest of the steps you need for your test case. Go ahead and add step 2 in the test case. Remember to give it a sensible step instruction. Then click on the Create Account button on the screen. You should see the register account page appear. As this is a new page, you need to add a verification step to allow the ML system to learn this. There are several possibilities, such as checking the H2 header for that pane, or seeing if the Register button is shown.
At this point, we need to choose a random email address to register. Fortunately, Architect has lots of extra functions built-in. In the Architect window, click on the + symbol in a circle to bring up a new pane. You’ll see there are all sorts of different options for you including generating data. As you can see in the screen below, this allows you to generate all sorts of different data for use in your tests.
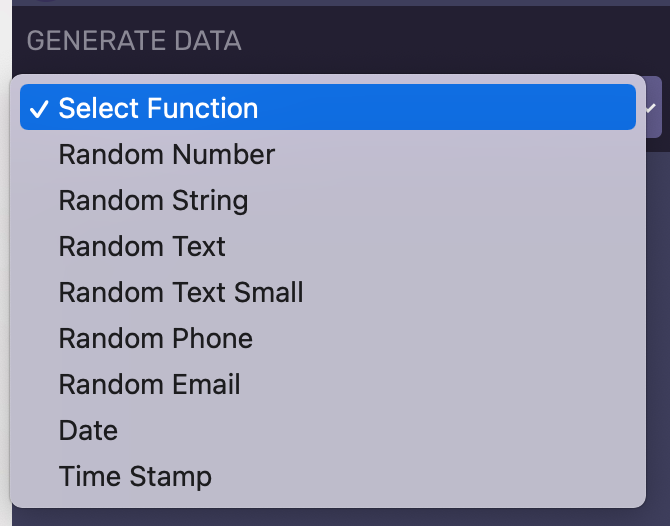
Choose to create a random email, click Set Target and click in the Email address field in the register pane.
More about test steps
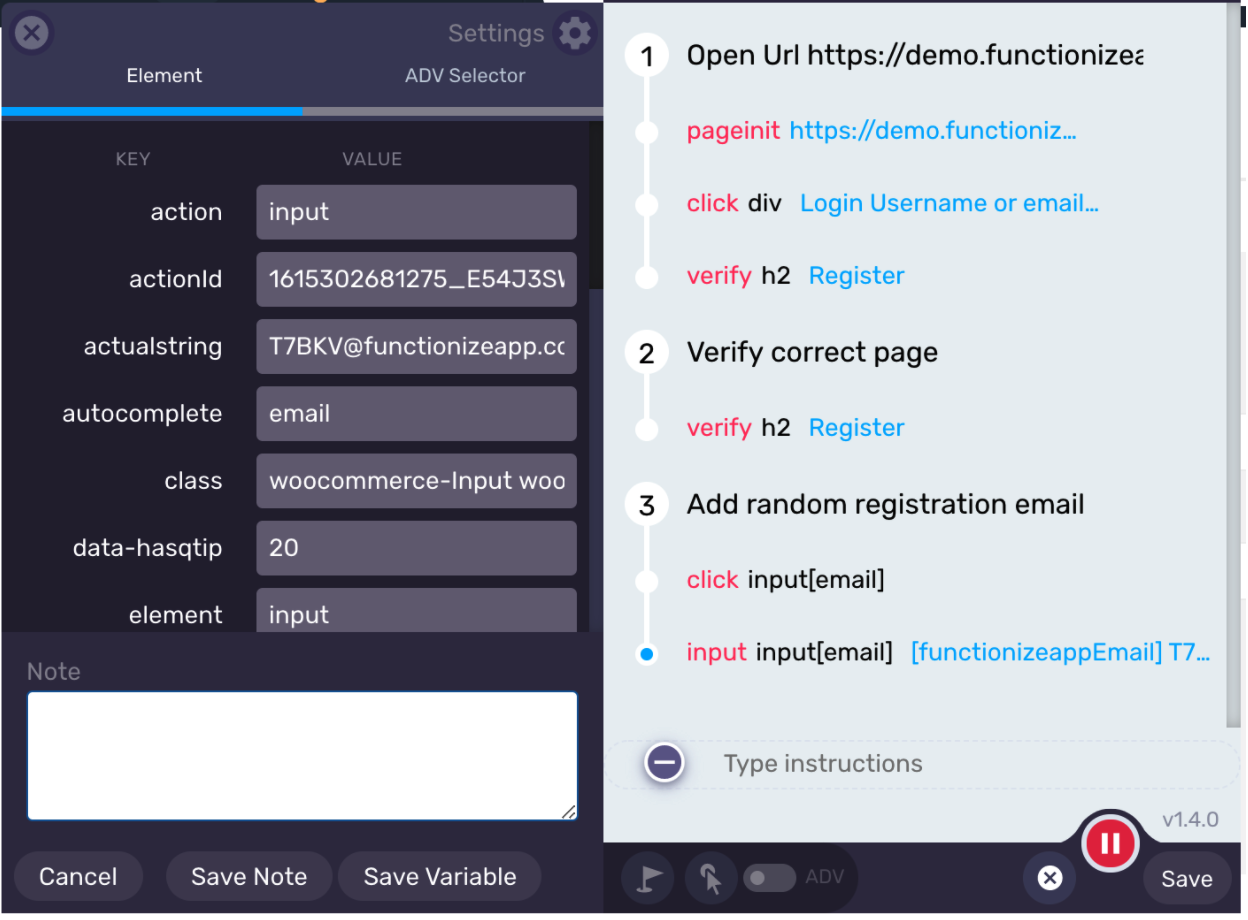
You can check in detail what each test step is doing if you click the white dot next to it in the timeline. This brings up its details plus a number of options. Every type of test step has different options. One of the really useful ones allows you to save a value as a variable for use in later tests or test steps. You can save all sorts of aspects, such as the text or value. You can even add operators to manipulate it. As you might have noticed, you can also have multiple actions for each named test step. Just remember to make sure it is still clear what that step is doing.
Advanced verifications
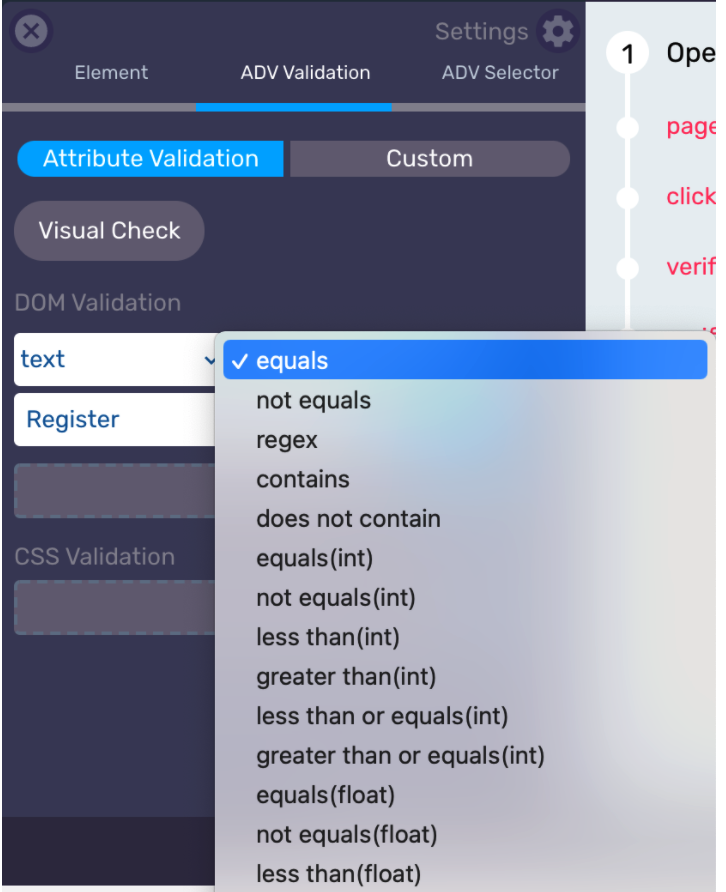
You might have spotted the little “ADV” toggle in the architect window. If you click this before clicking the verify flag, it gives you all sorts of types of advanced verification. Advanced verifications are a powerful way to verify elements on the page. You have several options available, including
- verifying that a specific attribute of an element matches a value
- validating against a value from a previous test step
- performing a visual validation
Try using an advanced verification to check whether the correct username is displayed after you register. By default, this is the first part of the registered email before the @ symbol.

As a hint, try verifying against the value for the step where you entered the random email address. You probably want to use a substring to get rid of the @functionizeapp.com.
Saving the test
Finally, click on Save. This brings up a popup where you can assign a name for the test case. Saving a test can take a few minutes if it’s complex. In the background, the system is walking through the test, step at a time, taking multiple screenshots and recording data. This will form the basis of its model for your site. Finally, after you add some optional notes, the system will run your test case to make sure everything is working fine.
Conclusions
Hopefully, you had some fun creating your first Functionize tests. You already met some of the advanced features Architect offers. If you want to explore more by yourself, try recreating the test again. But this time, use the saved LoginName to set the first name in the Account Details tab. As a hint, you can retrieve a value you saved by clicking the + in a circle and then click Project Variables.
In the next blog in the series, we will look at how to run your tests and understand the results. Remember, if you haven’t already done so, you can sign up for a free trial. Or if you want to see even more of what Functionize can do, book a live demo with our team.