Product Overview
EAI Agents
EA Intelligence
Architect
Agentic QA
Overview
Agents
Visual
QA testers have relied on selectors. Learn more why we are predicting its demise.
The new thought saving enterprise AI: Smaller, fine-tuned models offer superior precision, speed, and massive cost-efficiency. Finally, relief for the SaaS industry.
STOP Measuring Test Counts! The 4 DORA-Inspired Metrics That Prove Your QA Team is Failing.
Move from brittle scripts to autonomous QA. Discover the metrics, strategies, and 90-day playbook for leading a successful AI testing transformation.
The Forrester Wave™: Autonomous Testing Platforms, Q4 2025 report insights. Learn about the shift to autonomous creation, resilience, and vendor strategy.
Discover why bolt-on AI tools amplify QA technical debt. Learn how to eliminate maintenance and transform your QA team into strategic quality partners.
Development teams are shipping features faster with AI, but QA is falling behind. Learn how Agentic AI prevents QA from becoming your development bottleneck.
Discover why Functionize is perfectly positioned in the "Goldilocks Zone" to dominate enterprise AI, balancing scale and agility to transform software testing.
Discover how AI testing transforms QA economics, reducing costs from 30% to under 10% of engineering budgets while improving quality and release velocity.
Enterprise testing volumes require trillions of tokens monthly. Discover why GPU-dependent AI testing solutions face impossible economics at scale.
Accelerate your AI testing initiative. This blueprint outlines the 3-phase customer success framework to achieve 90% test automation, 5x productivity gains, and $10M+ annual cost savings. Navigate organizational change & maximize ROI.
Discover the reasons companies abandon once-favored technology brands.
Discover how agentic AI empowers QA teams by automating repetitive work, enabling professionals to focus on strategy and innovation for superior quality outcomes.
Why frontier AI labs can't replicate Functionize's testing data advantage—and what it means for the future of enterprise QA automation.
Discover how transformation champions drive successful AI testing adoption through strategic vision, compelling business cases, and effective change management.
Learn from real QA disasters that cost millions. Discover critical testing lessons from database failures, flaky automation, and deadly UI bugs.
Learn how computer vision technology enables self-healing test automation that adapts like human testers, reducing maintenance overhead by 80%.
Discover the inefficiency of traditional testing and how agentic AI eliminates the need to write code to test code, accelerating quality assurance.
Escape the test maintenance crisis. Learn how an agentic AI approach automates diagnostics and enables self-healing tests to boost QA efficiency.
Learn how agentic AI testing eliminates traditional trade-offs between speed, quality, and innovation, enabling enterprises to achieve all three simultaneously.
Revolutionize QA: Discover how agentic AI is replacing traditional testing, cutting costs, and accelerating releases. Stay ahead or fall behind!
Discover why purpose-built AI models outperform generalized frontier models in QA testing, delivering superior accuracy and reduced maintenance overhead.
Foundation models fail in complex enterprise testing. Discover why context-aware, purpose-built AI delivers superior accuracy, efficiency, and ROI.
Implement AI-driven UI testing effectively. Learn how AI augments QA, what to prepare for, common red flags, and why Functionize offers true AI for scalable, smart testing.
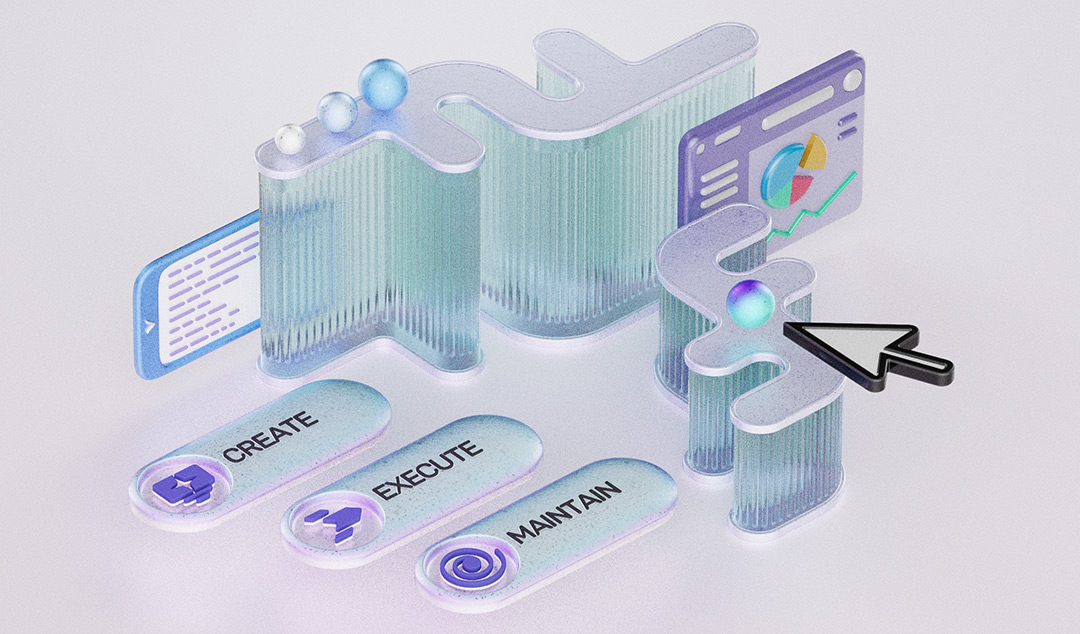
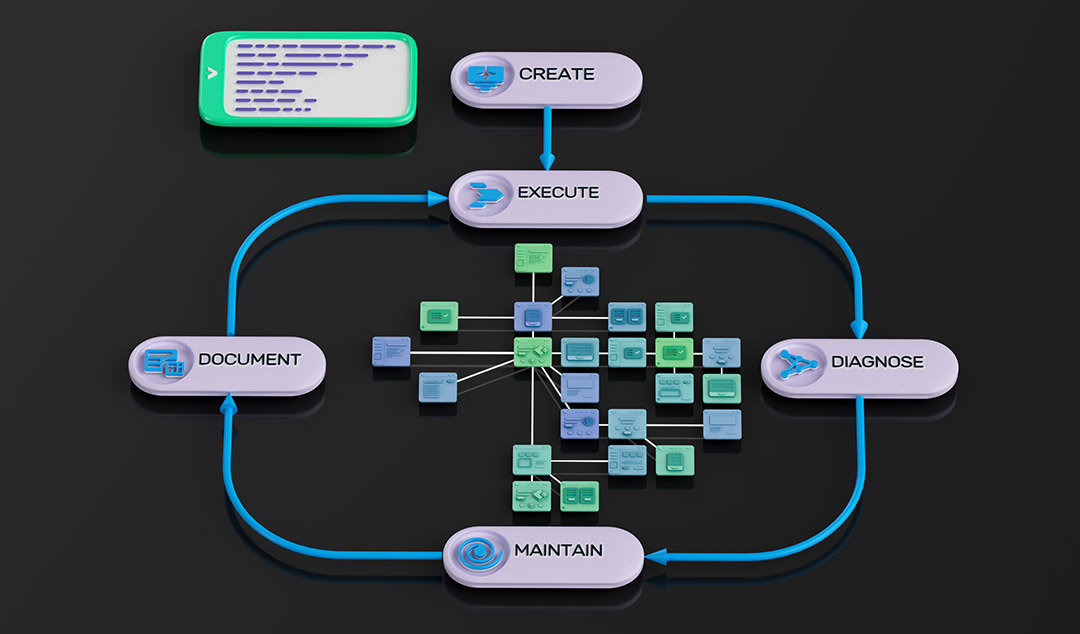
Discover how the Agentic Loop and its specialized AI agents transform software testing by automating creation, execution, diagnosis, and maintenance.
Functionize raises $41M Series B to accelerate autonomous QA. Their AI platform reduces test maintenance by 90% & boosts productivity by 10x.
Explore insights from Forrester’s Q3 2025 Autonomous Testing Platforms Landscape report, recognizing Functionize among included notable vendors.
Discover Functionize’s latest product updates, including AI-powered Create Agent & Insights Hub, designed to transform software testing. Learn more.
QA teams boost speed by 3.8x! See how a life sciences team replaced Playwright with Functionize for faster, more reliable testing without sacrificing quality.
Discover how Agentic Labor and AI-powered QA are reshaping productivity, policy, and enterprise innovation in the U.S.
Shift from reactive fixes to proactive QA with AI automation. Discover how Functionize helps teams prevent bugs and deliver quality from the start.
Discover how Functionize simplifies cross-browser testing with AI-powered automation. Test faster, smarter, and release high-quality apps with ease.
Discover how AI-powered tools like Functionize optimize test creation, maintenance, and diagnostics for faster, reliable enterprise QA at scale.
Scale your test automation with Functionize’s new consumption-based pricing! Pay for what you use, avoid over-provisioning, and grow at your own pace with a flexible, predictable model.
Unlock new learning opportunities with Functionize! Explore enhanced onboarding, a revamped certification program, a new AI test automation eBook, and an upcoming QA community. Get the skills and support you need to thrive in AI-driven testing
Maximize your test automation success with Functionize Professional Services! From onboarding and strategy to staff augmentation and full automation management, our experts are here to help. Get started today.
Discover Functionize’s latest innovations in AI-driven test automation! From AI-powered testing agents to free SSO for all customers, see how we’re redefining QA with speed, intelligence, and security.